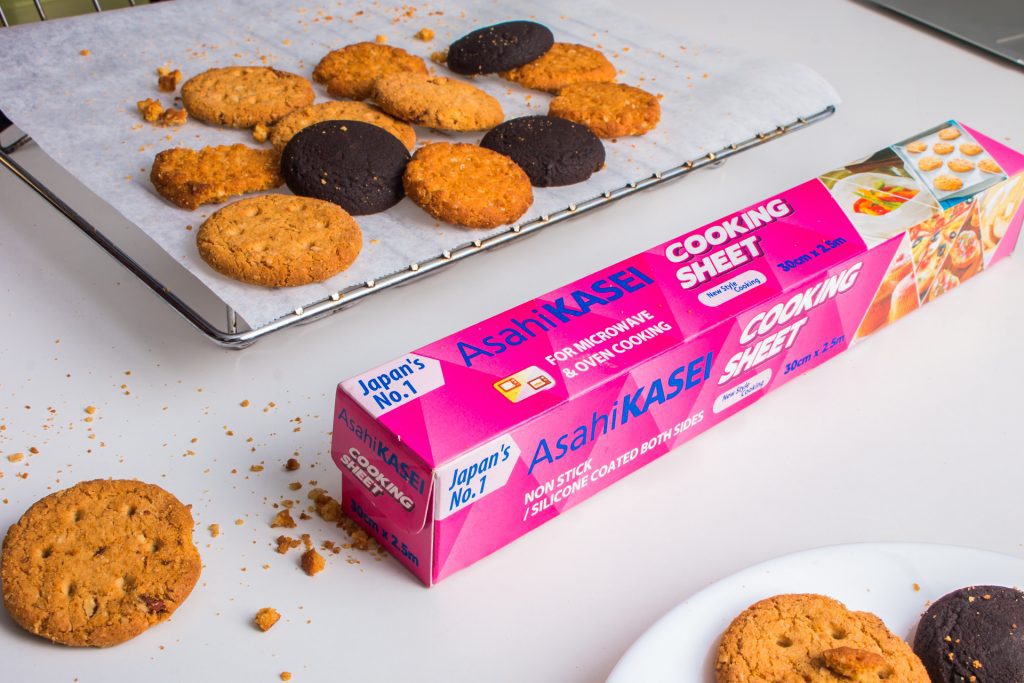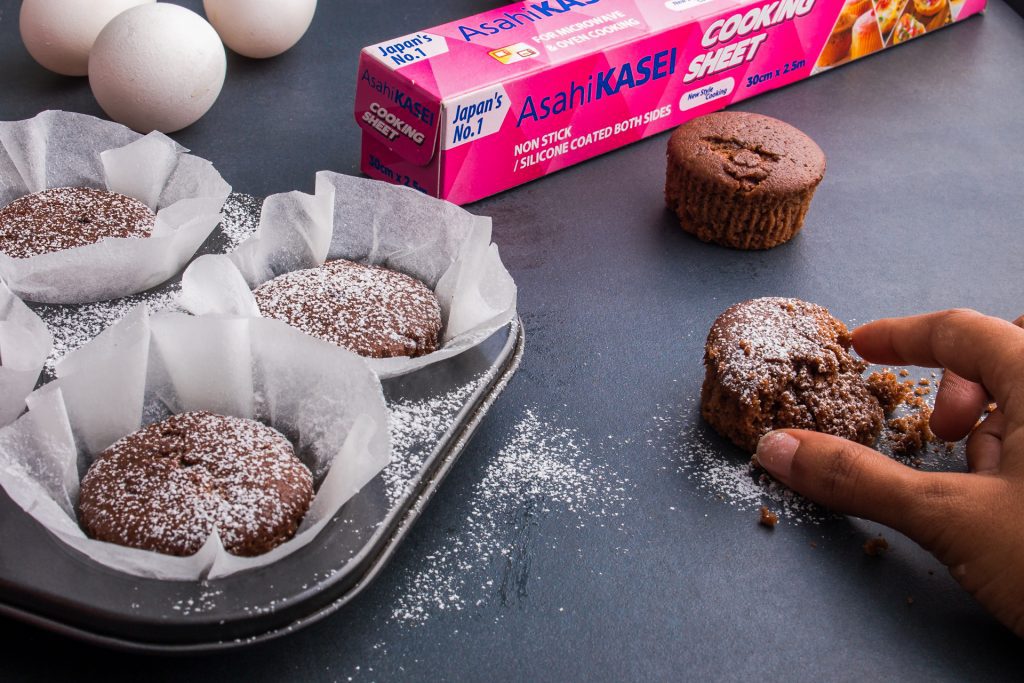
If you’re a fan of chocolate, you know how much it can add to the visual appeal of any dessert or sweet treat. One way to elevate your chocolate game is to learn how to make chocolate decorations. These delicate and intricate designs can be used to adorn cakes, cupcakes, cookies, and more. These decorations are made on parchment paper. And if you’re looking to buy parchment paper, buy the Asahi Kasei Cooking Sheet. It’s a high-quality parchment paper that is sturdy and won’t tear easily. Plus, it is a food-safe non-grease paper, making it the ideal choice for every baker. In this blog, we’ll walk you through the steps of making your own chocolate decorations on the Asahi Kasei Cooking Sheet.
Step 1: Gather Your Materials
Before you begin, make sure you have all the necessary materials. You’ll need:
- High-quality chocolate (either dark, milk, or white)
- Asahi Kasei Cooking Sheet
- A small offset spatula or a pastry bag with a small tip
- A microwave or a double boiler
- A baking sheet
- A small paintbrush (optional)
Step 2: Melt the Chocolate
The first step is to melt the chocolate. You can do this in a microwave or using a double boiler. If using a microwave, place the chocolate in a microwave-safe bowl and heat it in 30-second intervals, stirring between each interval until the chocolate is completely melted. If using a double boiler, place the chocolate in a heatproof bowl and set it over a pot of simmering water. Stir the chocolate occasionally until it melts.
Step 3: Prepare the Asahi Kasei Cooking Sheet
Once your chocolate is melted, it’s time to prepare the Cooking Sheet. Tear a piece of the cooking sheet using the built-in cutter to fit your baking sheet. Then, use a small offset spatula or a pastry bag with a small tip to spread the melted chocolate onto the cooking sheet in the desired design. You can create anything from swirls and spirals to letters and numbers.
If you’re using a pastry bag, make sure to use a small tip, as a larger tip will result in a thicker line. Hold the pastry bag perpendicular to the cooking sheet and apply even pressure as you pipe the chocolate onto the paper.
You can also make your own pastry bag using the Asahi Kasei Cooking Sheet. To make a pastry bag with the cooking sheet, cut a square of the cooking sheet and fold it in half diagonally, then fold it in half again to create a smaller triangle with a crease down the center. Hold the cooking sheet with the pointed end facing down and the open end at the top, then roll the cooking sheet into a cone shape, overlapping the two corners of the open end to create a point. Trim the point to the desired size, then fill the bag with your desired icing or filling and use it to decorate your baked goods.
Step 4: Chill the Chocolate
After you’ve created your chocolate designs on the cooking sheet, it’s time to chill the chocolate. Place the baking sheet in the refrigerator for about 10-15 minutes, or until the chocolate has hardened.
Step 5: Remove the Chocolate Decorations
Once the chocolate has hardened, it’s time to remove the decorations from the cooking sheet. Peel the Asahi Kasei Cooking Sheet away from the chocolate. If the chocolate decorations are still sticking to the paper, place them back in the refrigerator for a few more minutes until they are fully hardened.
Step 6: Use the Chocolate Decorations
Your chocolate decorations are now ready to be used! Use them to decorate cakes, cupcakes, cookies, or any other sweet treat. If desired, you can use a small paintbrush to add additional details or apply a thin layer of chocolate to the back of the decorations to help them adhere to your dessert.
Some Tips:
- Use high-quality chocolate for best results.
- Make sure your cooking sheet is completely flat and free from any wrinkles or creases.
- If you’re using a pastry bag, make sure the chocolate is not too hot, as this can cause the bag to burst.
- If you make a mistake, simply scrape the chocolate off the cooking sheet and start over.
- Experiment with different designs and techniques to find what works best for you.
Learning how to make chocolate decorations on a cooking sheet is a great way to elevate your dessert game. With a few simple tools and techniques, you can create beautiful and intricate designs that will impress your friends and family. So next time you’re looking to add some extra flair to your desserts, give chocolate decorations a try!